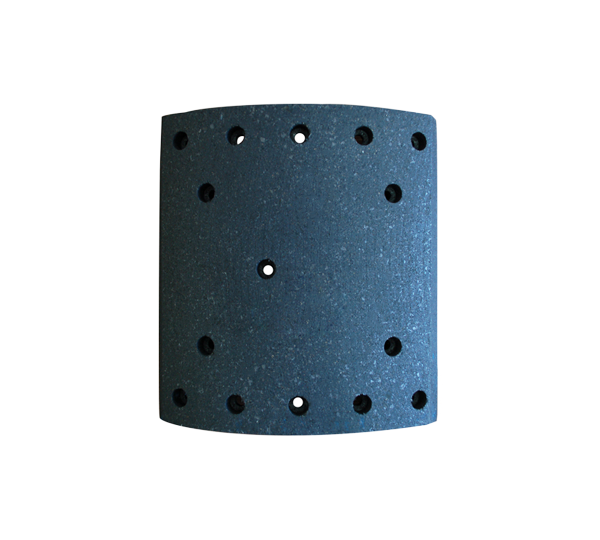
Replacing the brake lining is an important maintenance task that ensures your vehicle's braking system works efficiently and safely. Here are the general steps to replace brake lining:
Gather Materials: You will need a new brake lining kit, a set of wrenches, a jack stand, a lug wrench, and brake cleaner.
Prepare Your Vehicle: Park your vehicle on a level surface and turn off the engine. Use a lug wrench to loosen the lug nuts on the wheel you are working on. Use a jack stand to lift the vehicle and remove the wheel.
Remove the Brake Caliper: Locate the brake caliper and use a wrench to remove the bolts that hold it in place. Once the caliper is removed, use a wire to secure it to the suspension to prevent it from hanging by the brake line.


Remove the Old Brake Pads: Take out the old brake pads from the caliper by sliding them out.
Install New Brake Pads: Install the new brake pads into the caliper by sliding them in. Make sure the pads are securely in place and that the pad clips are aligned.
Install the Brake Caliper: Reinstall the brake caliper by placing it over the brake pads and securing it in place with the bolts.
Put the Wheel Back On: Put the wheel back on and tighten the lug nuts. Lower the vehicle off the jack stand.
Repeat the Process: Repeat the process for the other wheels.
Test Drive: Before driving the vehicle, press the brake pedal a few times to ensure the brake pads are properly seated. Take the vehicle for a test drive and make sure the brakes are working correctly.
It's important to note that the process for replacing brake lining can vary depending on the make and model of your vehicle. It's always a good idea to consult your vehicle owner's manual or a professional mechanic if you're unsure about any of the steps involved.
PREV:When is the brake lining replaced?
NEXT:What problems will be encountered when using brake lining?
NEXT:What problems will be encountered when using brake lining?


 English
 中文简体
中文简体


